
Blank Template Pizza Slice
Easy Pizza Drawing - Step 2. 2. From one of the triangle's bottom corners, extend a curved line. Allow the line to straighten and follow the side of the triangle on a parallel path. Then, curve the line inwards to meet the opposite bottom corner. This adds depth and three dimensions to the pizza slice.

How to Draw a Pizza Easy Drawing Art
Using the Edit Paths by Nodes (N) tool select the left edge of the pizza crust in the middle. Pull out the line matching the image. Now select the entire crust, go to the Path menu and select Stroke to Path (CTRL + ALT + C). Hit N and edit the inner path of the crust to match the image. Download the SVG file HERE. ← Previous Post.
Is Your Pizza the Size of the Sun? Linda's Links to Literature
1. How to draw a simple pizza for your baby. Hello! Today, drawing123.com will show you how to draw a beautiful and simple pizza. Step 1: First, draw a glass. Step 2 : Next, paint the surface of the cheese. Step 3: Draw the crust Step 4: Draw circles like sausages Step 5: Draw its face Step 6: don't forget to draw his hands and feet Step 7: Let's color the picture

slice of life, all hail pizza 3 Pizza drawing, Pizza cartoon, Pizza art
2. It's not a pizza without the crust. On the short side of your pizza, draw the crust starting with small arches on the top and bottom. Next, connect the two arches on the pizza slice with a slightly curved line running parallel to the short side of the triangle. 3. The pizza is taking shape but needs a bottom crust.
Pizza Slice Drawing ClipArt Best
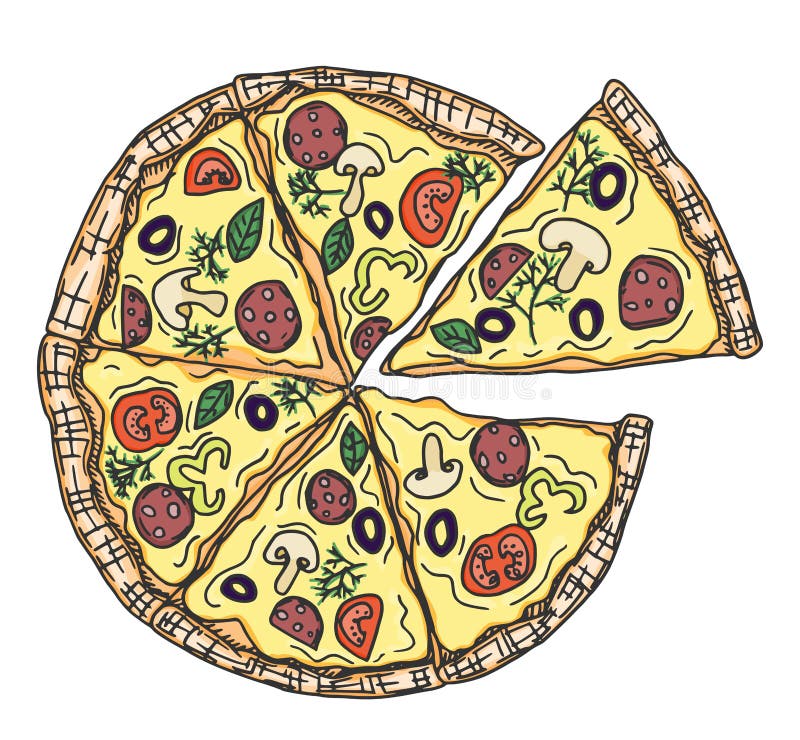
Step 2 - Draw the Crust Pizza crust drawing. Draw a smaller oval inside the previous one to create the crust. It's shape should be similar to the one in the previous step but does not need to be exactly the same. Step 3 - Draw the Slices Pizza slices drawing. To show the slices first add horizontal line.
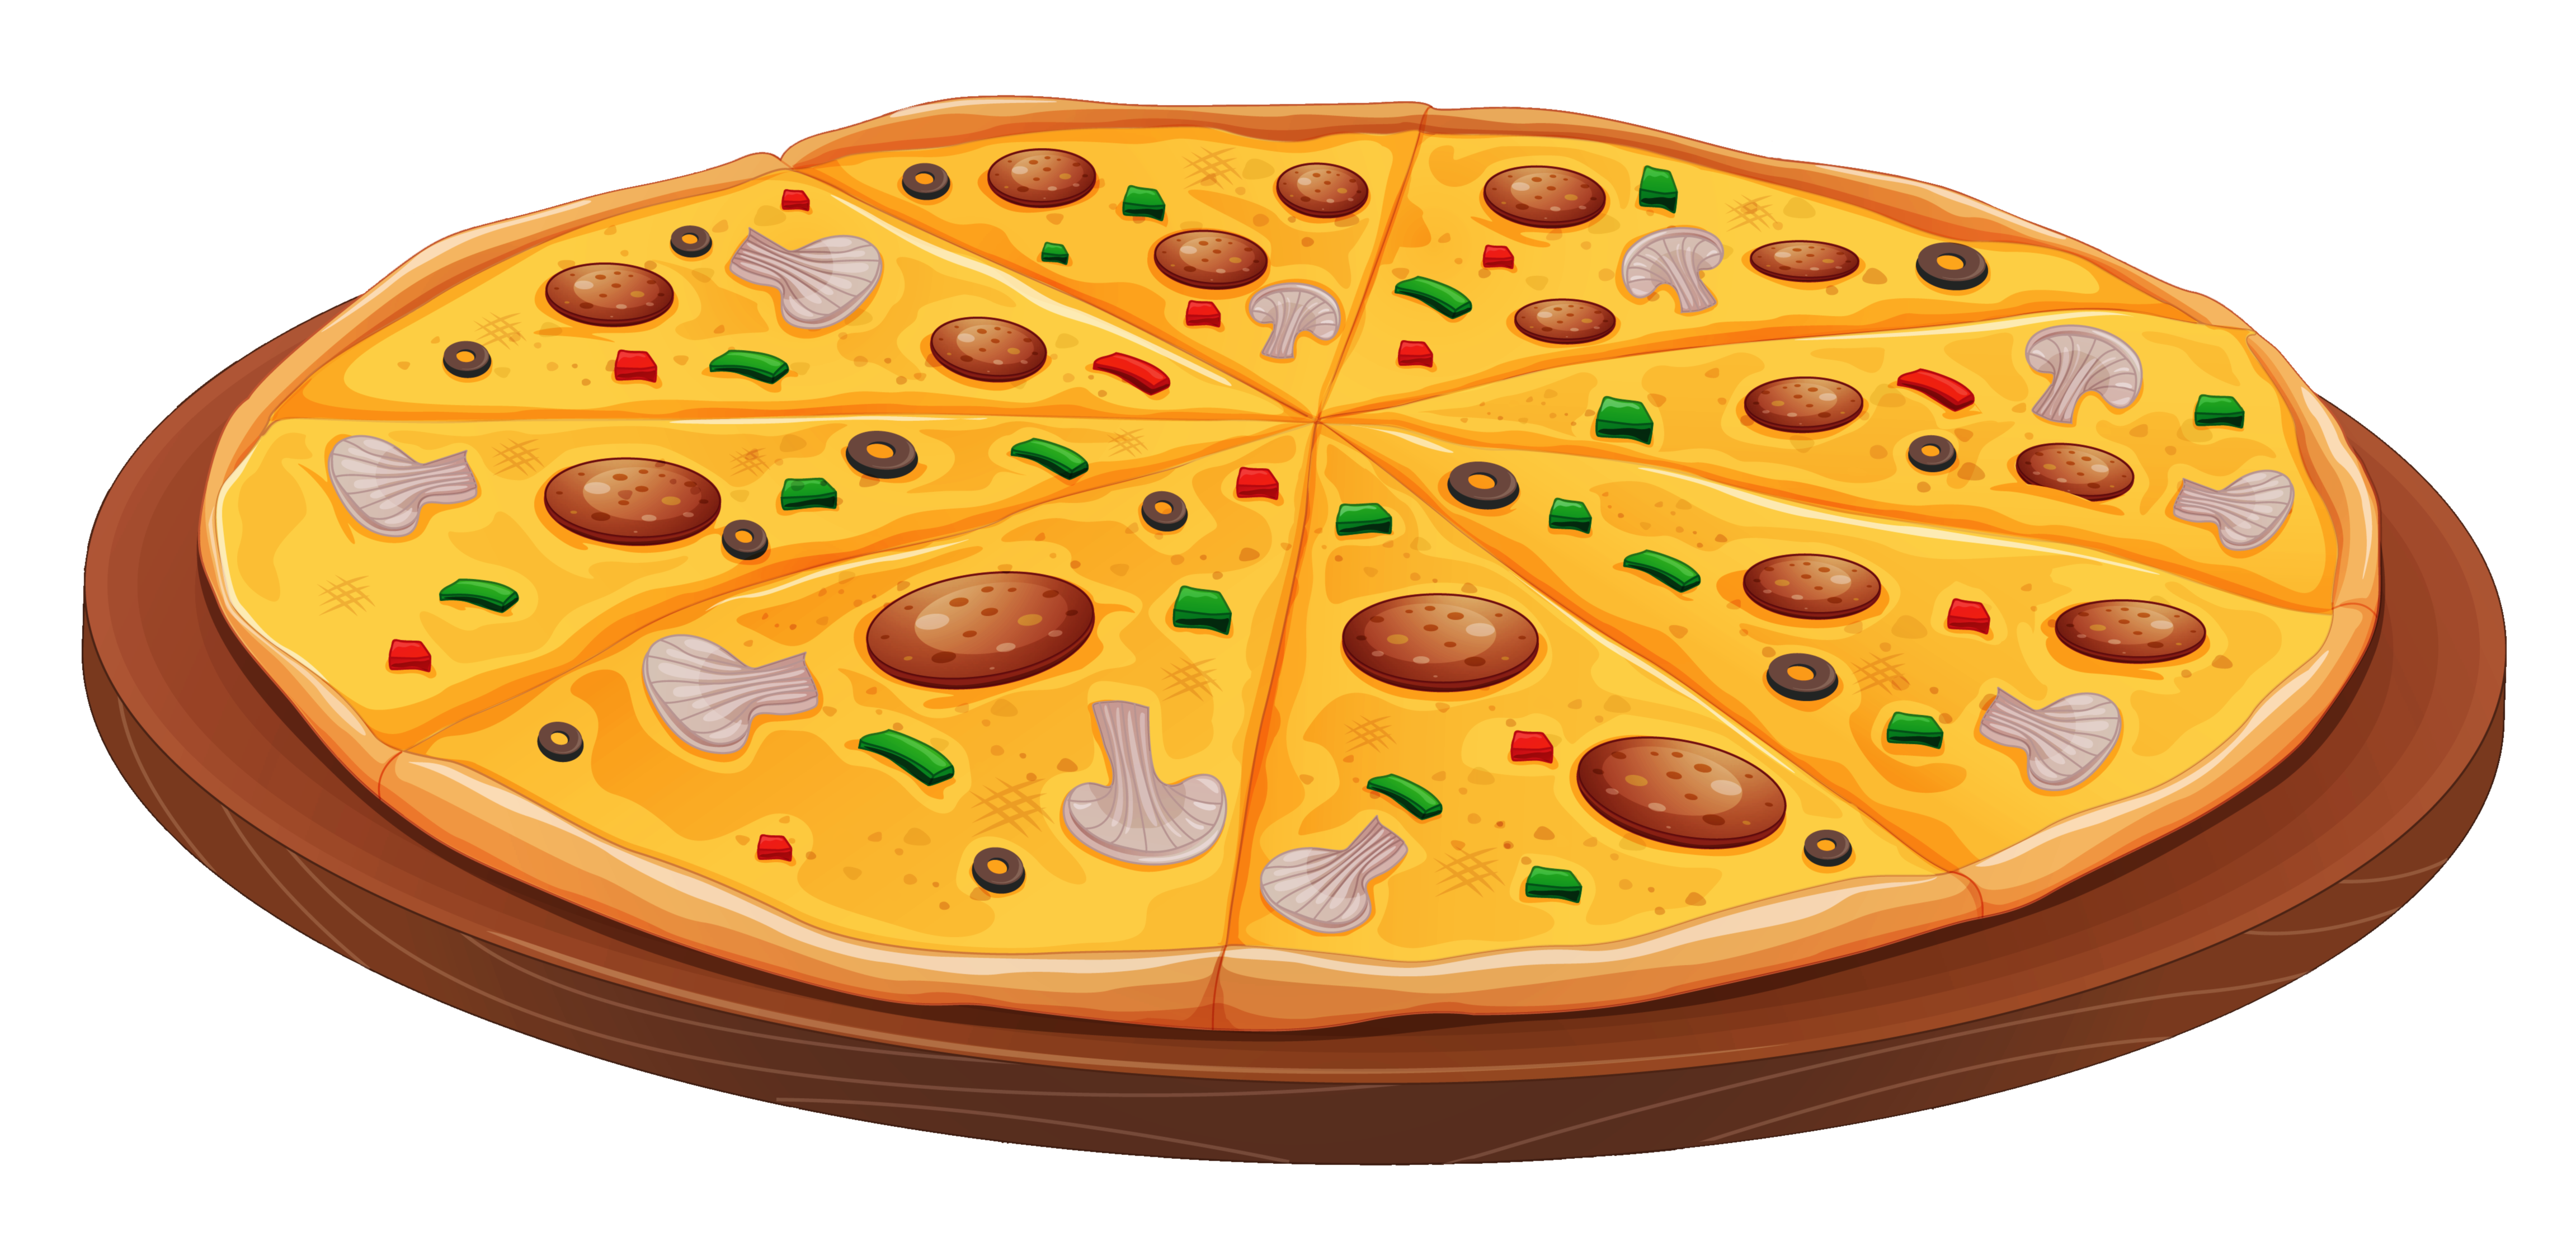
Fractions clipart pizza crust, Fractions pizza crust Transparent FREE
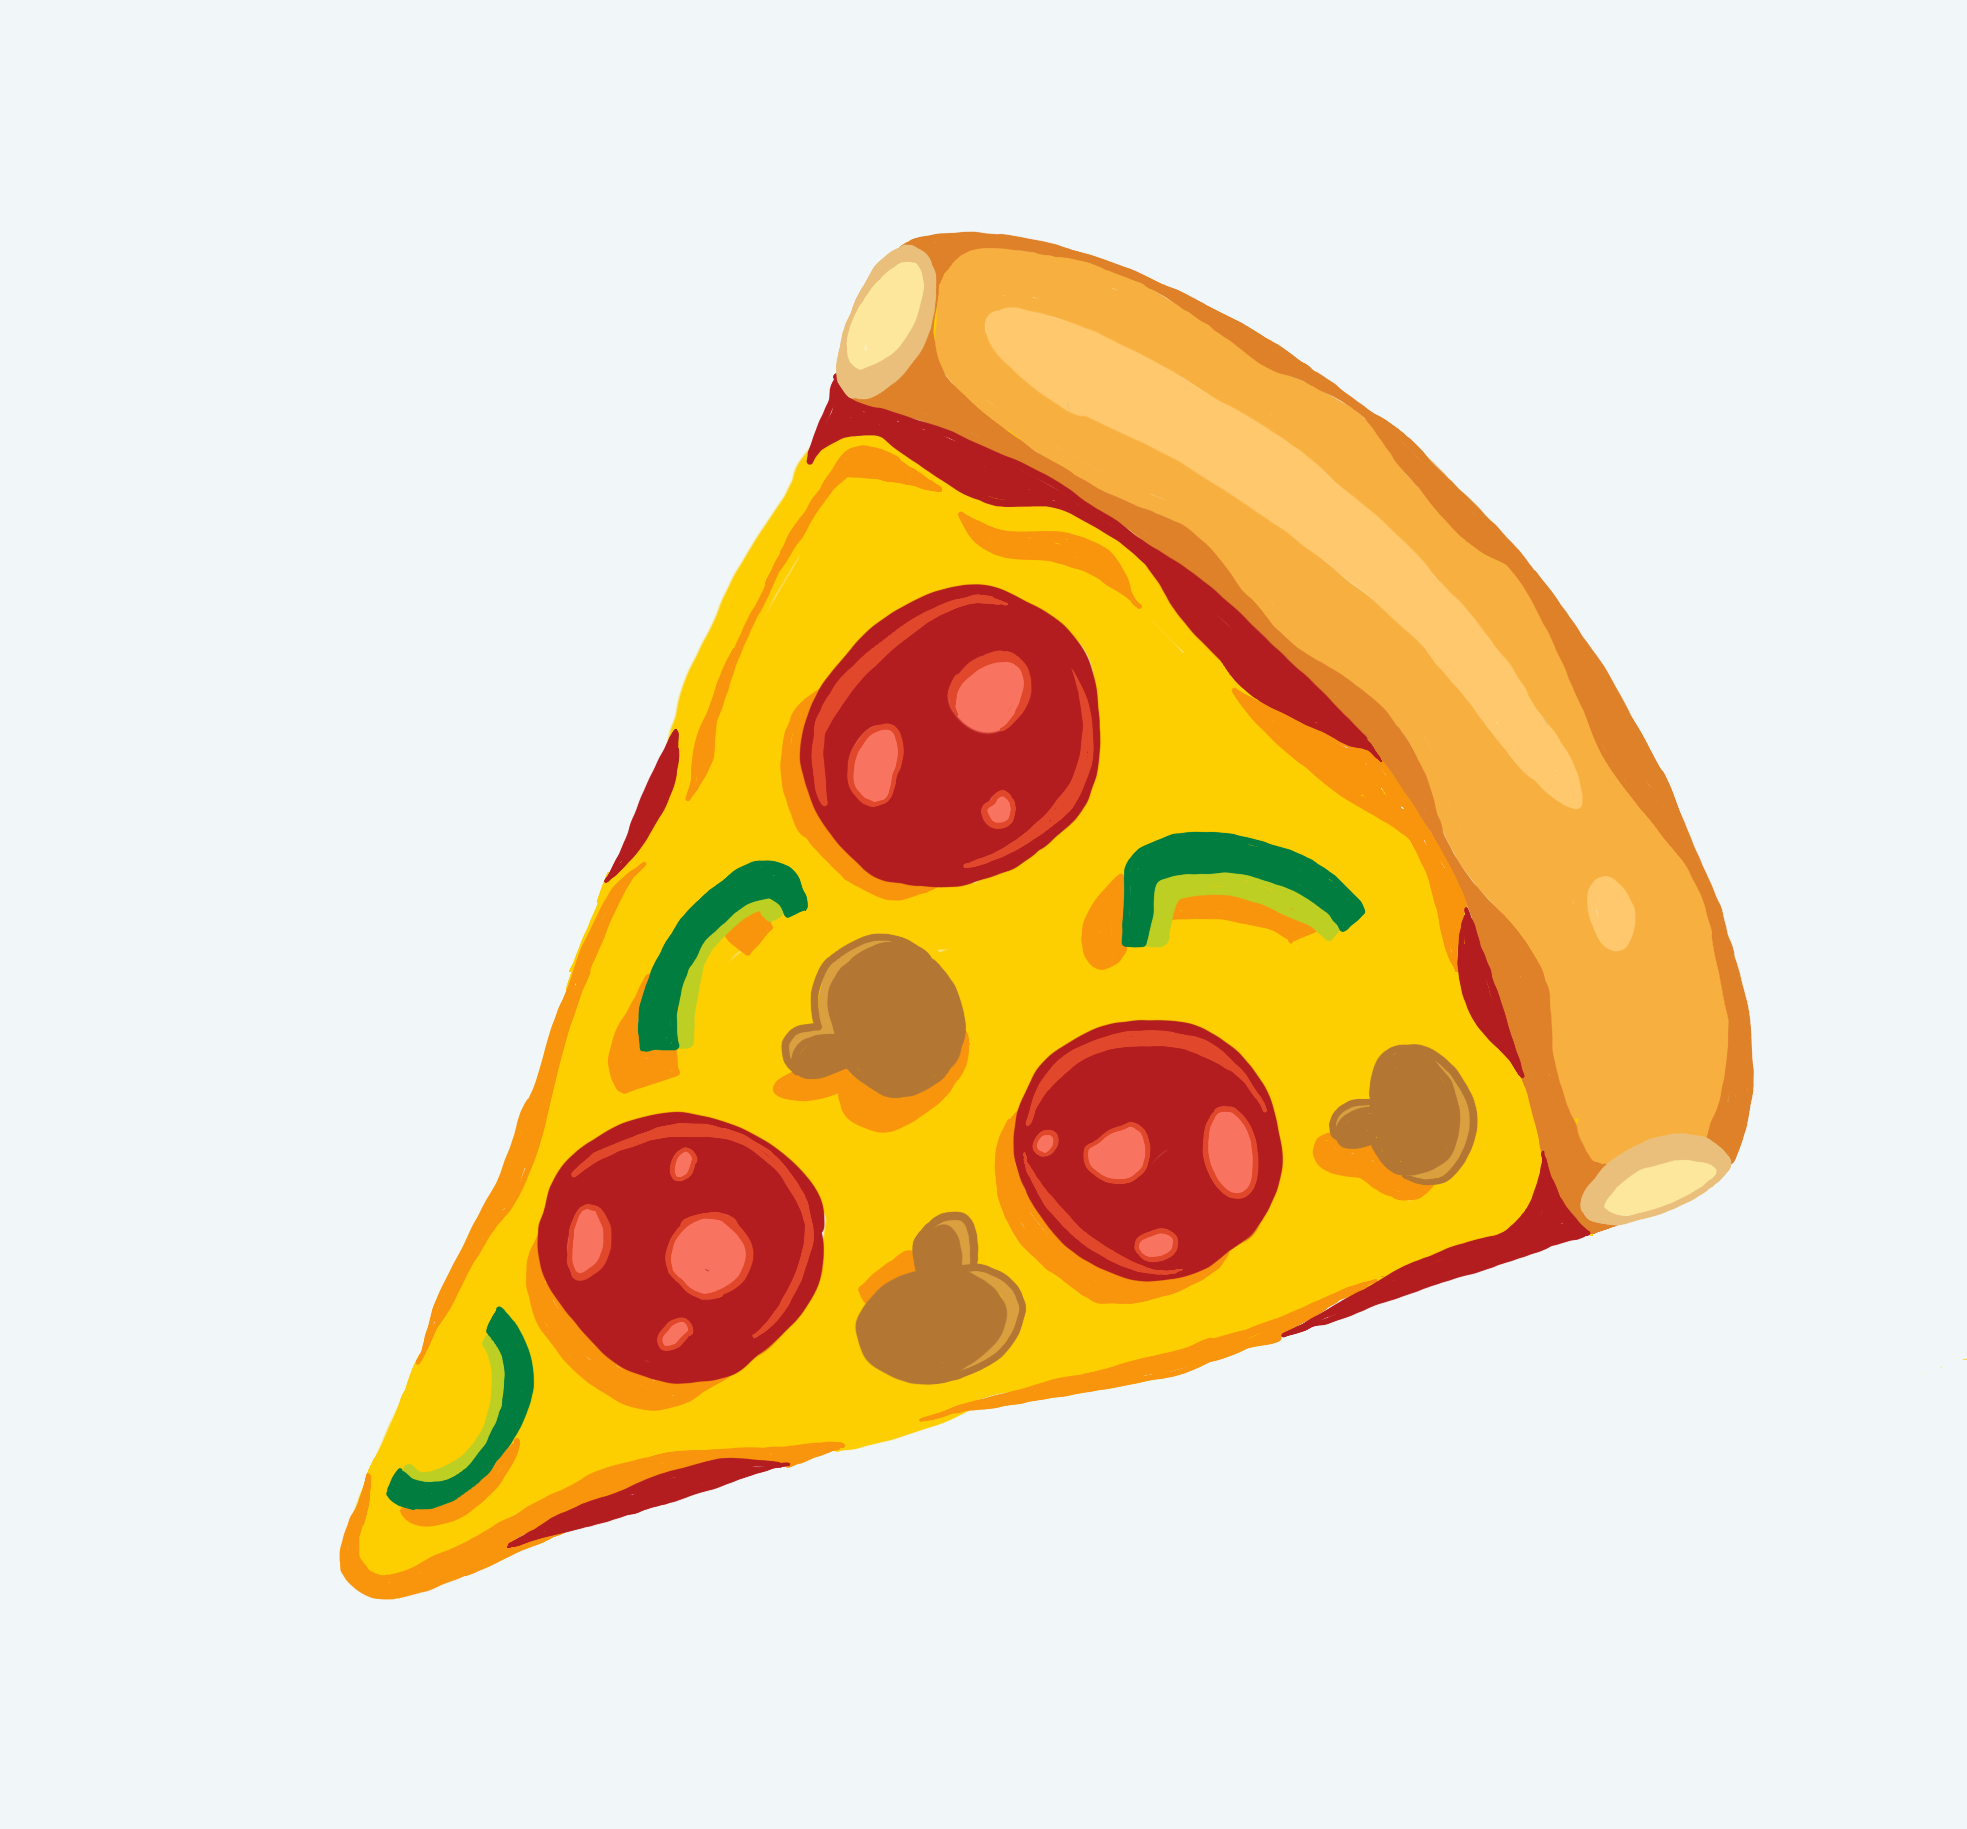
Add the condiments. Color everything and you are done with your pizza drawing. Draw the crust. This is for one slice only. Now the bread. Give it a triangular shape. Show the cheese. The cheese is shown melting down. Thicken it. Give the slice some depth. Now for the rest. Draw the remaining pizza. Show the crust and layers. Use a light pencil.

pizza crust clipart 10 free Cliparts Download images on Clipground 2024
Start by drawing a large circle for the pizza crust. This will be the base of your pizza. Tip: You can use a round object like a plate if you're having trouble drawing a perfect circle freehand. Step 2: Add the Toppings. Next, start adding your favorite pizza toppings. Draw small circles for pepperoni, squares for green peppers, and rectangles.

Pizza Crust and Toppings, Sketching Illustration Stock Illustration
Drawing a pizza can be a delightful and creative endeavor, allowing you to capture the essence of one of the world's most beloved foods on paper. Whether you're sketching for fun or aiming to improve your artistic skills, here's a comprehensive guide to drawing a delicious pizza, step by step. 1. Gather Your Materials

pizza crust clipart 10 free Cliparts Download images on Clipground 2024
This will make your pizza look more three-dimensional. 2. Use different shades of the same color. Pizzas are rarely one uniform color, so use a variety of colors and shades to make your pizza look more realistic. For example, if you're drawing a mushroom pizza, use different shades of brown and gray for the mushrooms. 3.
Pizza. 5x7 ink drawing. r/drawing
Step 3. Pizza Drawing. To begin adding toppings to your pizza, start by outlining one complete circle and two partial circles on the surface of the pizza. These shapes will serve as the base for your toppings. Step 4. Pizza Drawing. Add a line at the bottom and add a circle in the middle. Step 5.

Pizza Crust Isolated. Leftover Pizza Fast Food Vector Illustration
Step 3: Colouring in. Now, for the final part of the recipe - a dash of colour for the pizza toppings. Choose a few bright colours. The main area, which is around those cool shapes you've drawn, is going to be the cheese layer and we can colour this in yellow. Orange or red is also good.

Pizza slice drawing hand drawn pizza Royalty Free Vector
Step 4: Color the Drawing. Now that we've successfully this guide how to draw a pizza, it's time to bring your cute pizza art to life with color! Use warm colors like red, orange, and yellow for the sauce and toppings. Use cool colors like blue and green for the veggies. Don't forget to add some brown for the crust!
Plain Pizza Cliparts Free Download Clip Art Free Clip Art on
Step 3: Add the Pizza Slice's Crust. Draw the pizza crust by attaching a curvy shape on the short side of the pizza slice. Step 4: Draw the Face. First, attach two shade circles to form the eyes. Then, draw an oval shape to create the cute pizza's mouth! Step 5: Outline the Pizza. Draw a C-shaped line below the cute pizza slice in order to.
Pizza Crust Pattern Seamless. Leftover Pizza Background. Fast Food
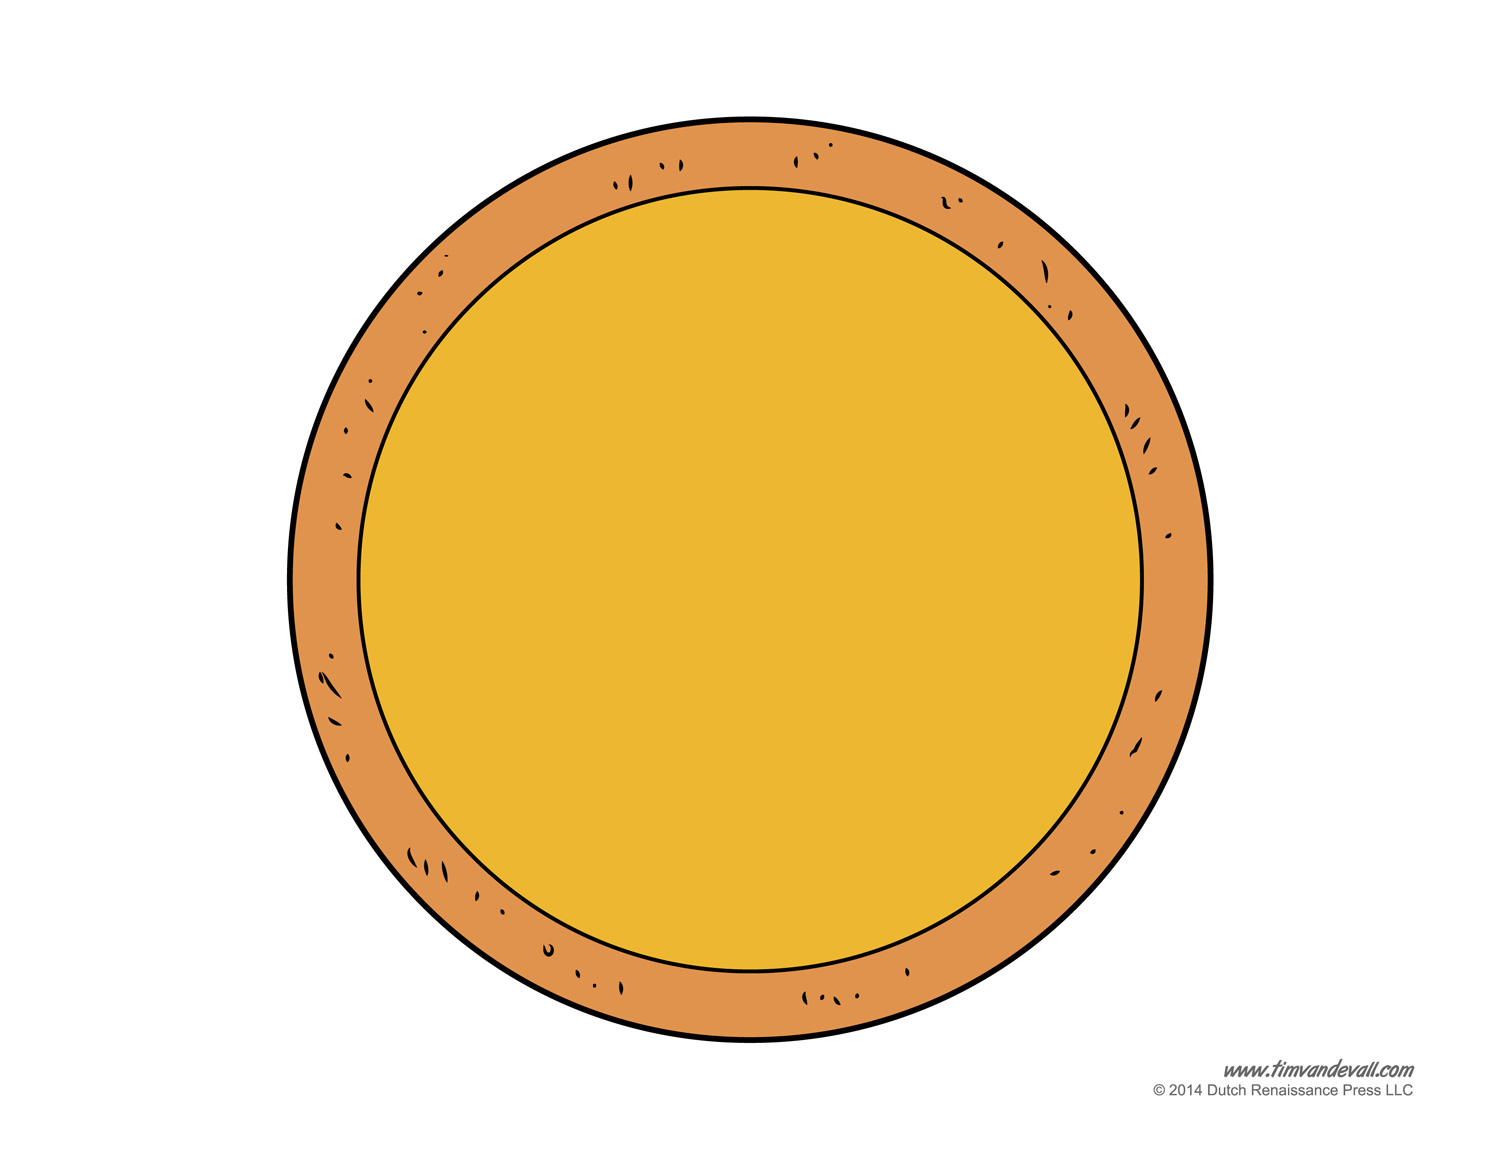
Step 2 - Draw an Inner Circle for Your Pizza Crust. Next, draw a smaller circle within the larger circle, leaving some space in between. This will be your pizza crust. Make sure the crust is evenly spaced around the edge of the pizza. Step 3 - Draw Circles within the Middle of Your Pizza for Pepperoni. Now it's time to add the toppings.

Free Pizza Crust Cliparts, Download Free Pizza Crust Cliparts png
Step 1: Draw the Crust. To start, draw a large semi-circle on your paper. This shape will serve as the crust of the pizza. Make sure to leave some space at the top of the semi-circle for the other toppings. Step 2: Add the Sauce. Inside the crust, draw another smaller semi-circle. This will represent the sauce that is spread on the dough.
Drawing a Day, Day 18 Pizza
Step 1 - Outline the Shape of the Pizza Slice. Pizza slice outline drawing. First outline the main shape of the slice. In this examples it's drawn from a 3/4 view which is a good choice as it's a fairly natural angle to view a pizza slice from. It will also allow you to show a good amount of detail in later steps.
